None of the windows had window coverings, not even curtain rods. The temporary fix was sheets from a used store in town, cut to fit the windows and hanging from the ceilings (because after all the painting I've done, there will be no holes in these walls unless to it's to hang the real curtains!)
I waffled between curtains and blinds or shades. Usually curtains would be the cheaper option IF we had rods, but buying rods and curtains ends up being the same price as the blinds. We have decided on blinds but budget-wise we'll have to wait awhile longer.... except... I can't stand how bright the bedroom is at night.
It's odd, we moved up north and people kept telling us about the lack of light during the winter, but it's almost always clear skies up here which equals nights that are oddly bright, lit by stars and northern lights!
So there I am, looking on pinterest and I see someone has made a roman blind out of an old mini blind and I'm struck with the idea of doing this for our bedroom!
What was I thinking????
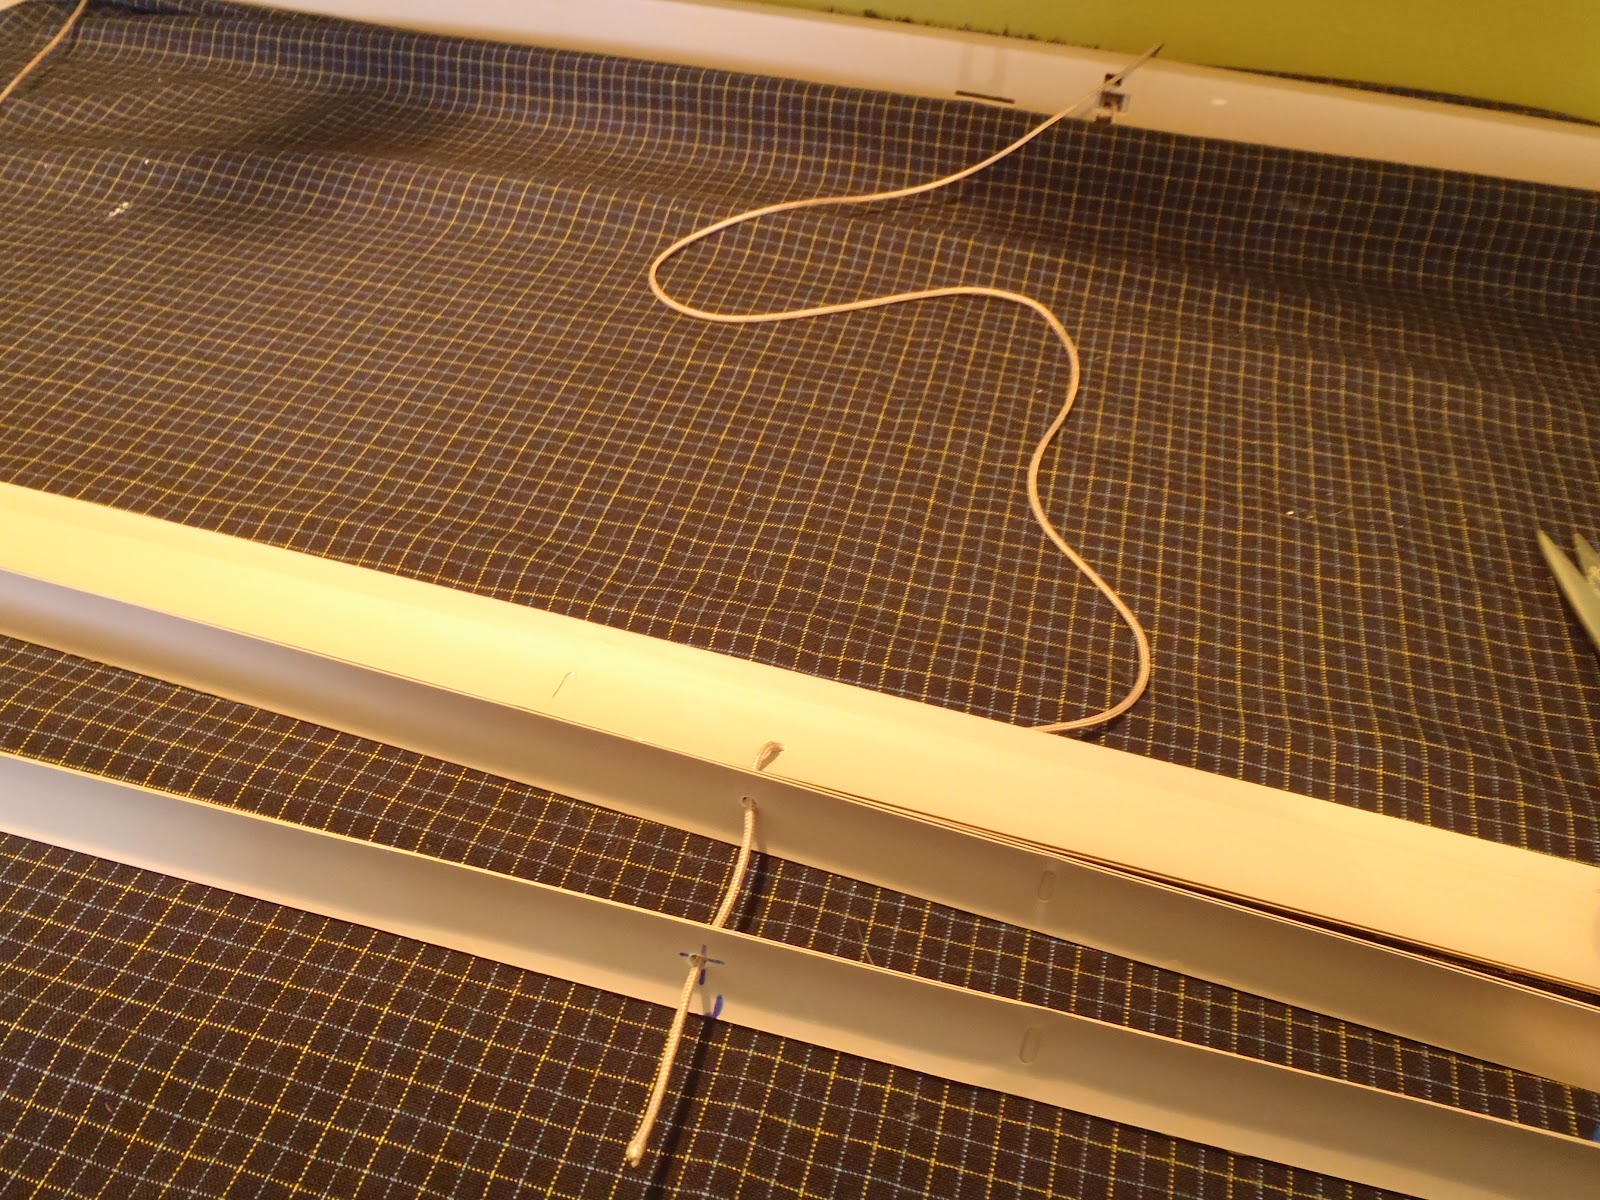
One day I went out with some friends and we went to a second hand store in town and I happened to find a long blind (perfect) for 2.99!! I got it home and quickly measured only to find it was at least 5" to short. So I had the brilliant idea of taking three or four of the metal slats and gluing them together, and then staggering them to make up the extra 5".


I picked my fabric but I didn't want to leave the opposite side exposed (this is the side that faces the exterior) so I picked a second fabric to line the blind with. I had to drill new holes into the slats and this was fairly easy, but in hindsight, I should have drilled elongated holes to allow for more movement.


1 comment:
Looks great!!
Post a Comment